在深入探索 CUDA-Q 編譯器的奇妙世界之前,我想先寫一篇關於抽象語法樹 (AST) 重寫的簡短備忘錄。
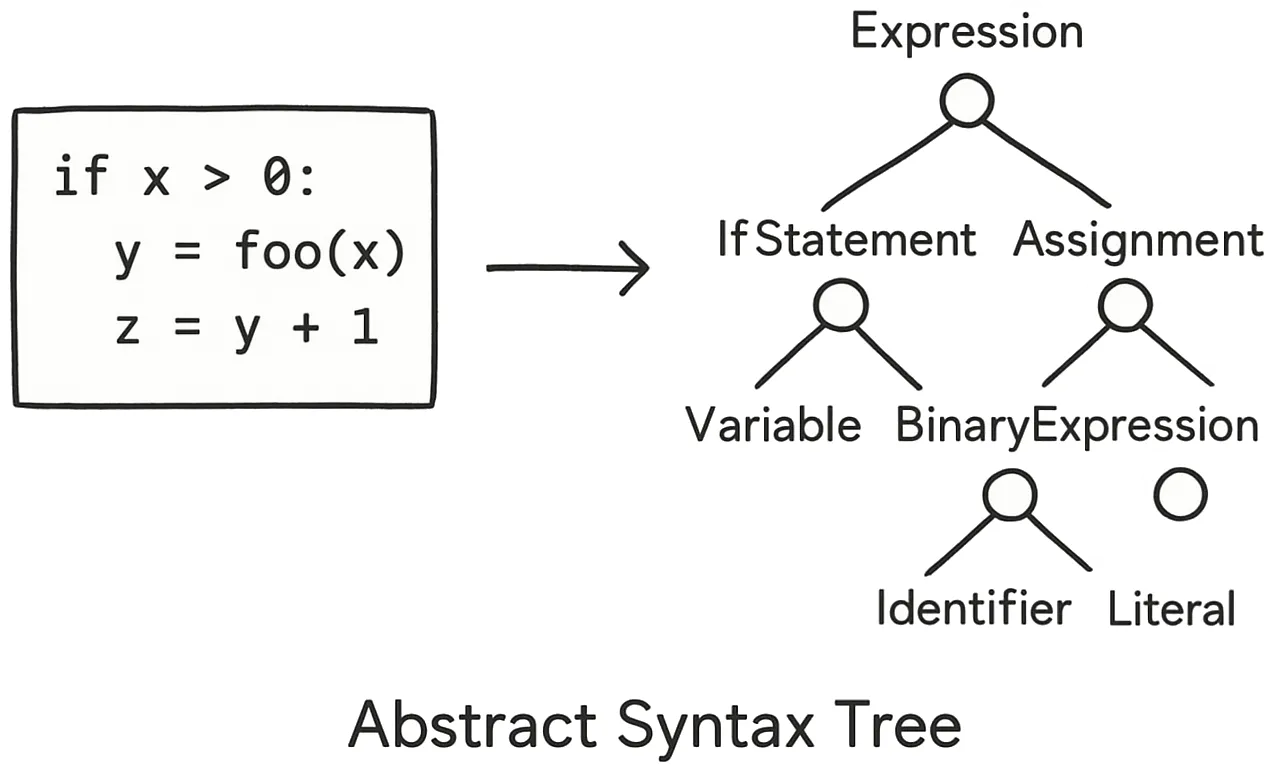
有人可能會問:AST重寫和編譯有什麼不同?簡而言之,每次編譯都包含AST重寫,但並非每次AST重寫都算編譯。
此外,編譯是將程式碼從一種語言轉換為另一種語言的過程,而抽象語法樹(AST)重寫通常會在同一種語言內進行。
Python 提供了一個用於處理抽象語法樹 (AST) 的標準函式庫。 Python AST 中的節點大致分為四大類:
例如 10、"hello"、True。
Constant(value=10)
Constant(value="hello")
Constant(value=True)
例如 x、y、z。變數既可以以讀取(載入)模式訪問,也可以以寫入(儲存)模式存取。
Name(id='x', ctx=Load())
Name(id='y', ctx=Store())
例如 1 + 2、x + 2、x > y。表達式是 AST 節點,用於產生值。
BinOp(left=Constant(value=1), op=Add(), right=Constant(value=2))
BinOp(left=Name("x", Load()),op=Add(),right=Constant(value=2))
Compare(left=Name("x", Load()),ops=[Gt()],comparators=[Name(id='y', ctx=Load())])
例如 if、for、while、return、break、continue。語句是抽象語法樹 (AST) 節點,用於執行操作,並在 Python 程式碼中作為頂層或程式碼區塊層級的結構出現。
例如,以下程式碼:
相當於:
If(
test=Compare(left=Name("x", Load()),ops=[Gt()],comparators=[Constant(value=1)]),
body=[Pass()],
orelse=[]
)
假設我們要將這段程式碼轉換成:
@kernel
def conditional_play(qubit: Qubit):
iq = qubit.ancilla.readout()
if iq.i > 0.5:
qubit.main.play("waveform")
進入
def kernelized_conditional_play(qubit: Qubit):
iq = qubit.ancilla.readout()
with cc._if(iq.i > 0.5):
qubit.main.play('waveform')
其理念是,iq 是一個運行時 Readout,它不應該由 Python 解釋器進行評估,而應該由量子控制器進行評估。為了實現這一點,需要建立一個 kernel 裝飾器:
class kernel:

def __init__(self, func):
self.func = func

# Uncompile wrapped function (convert it into a string)
source = self.decompile(func)

# Parse the string into an AST
tree = self.parse_to_ast(source)

# Transform the AST, converting the "if" into "with if_()"
tree = Transformer().visit(tree)

# Recompile the AST into a binary
binary = self.recompile(tree)

# Make a namespace for execution
namespace = func.__globals__.copy()
# This does not really executes the function, but rather creates
# a new function based on the modified AST
exec(binary, None, namespace)

# The new function is now available in the namespace
self.kernel  = namespace["kernelized_" + func.__name__]

def __call__(self, *args, **kwargs):
return self.kernel(*args, **kwargs)
decompile、parse_to_ast 和 recompile 只是對標準函式庫函數(inspect、[compile](https://docs.python.org/3/library/comptions.html)的簡單包裝。
def decompile(self, func):
return inspect.getsource(func.__code__)

def parse_to_ast(self, source: str):
return compile(source, filename="<generated>", mode="exec", flags=ast.PyCF_ONLY_AST, dont_inherit=True)

def recompile(self, tree):
return compile(tree, filename="<generated>", mode="exec", dont_inherit=True)
轉換器是 ast.NodeTransformer 的子類,它遍歷抽象語法樹 (AST) 並將其轉換為模型的生成器。這是一種非常通用的設計模式,可用於將任何 AST 轉換為任何其他 AST。
class Transformer(ast.NodeTransformer):
"""
This subclass traverses the AST of the user-written, decorated,
model specification and transforms it into a generator for the
model. Subclassing in this way is the idiomatic way to transform
an AST.

Specifically:

1. rewrite all `if` statements into `with cc._if()` blocks
2. rename the function to `kernelized_` + original function name
3. Remove the @kernel decorator to prevent from recusion
"""

def visit_If(self, node):
self.generic_visit(node)
modified_node = ast.With(
items=[
ast.withitem(
context_expr=ast.Call(
func=ast.Attribute(
value=ast.Name(id="cc", ctx=ast.Load()),
attr="_if",
ctx=ast.Load(),
),
args=[node.test],
keywords=[],
),
optional_vars=None,
)
],
body=node.body,
)

ast.copy_location(modified_node, node)
ast.fix_missing_locations(modified_node)
return modified_node

def visit_FunctionDef(self, node):
modified_node = node
# Rename the function to `kernelized_` + original function name
modified_node.name = "kernelized_" + node.name
# Remove the @kernel decorator to prevent from recusion
modified_node.decorator_list = []

# Copy the source location of the original node
ast.copy_location(modified_node, node)
ast.fix_missing_locations(modified_node)

# Do not forget to visit the children of the node
self.generic_visit(node)

return modified_node
引入「核心」裝飾器的概念來將 Python 語句轉換為 QCS ISA 可能會令人困惑。如果忘記應用裝飾器會怎樣?由於 Python 解釋器會執行求值操作,核心程式碼將無法運行,這可能會讓開發人員感到非常困惑。
但這個問題有很多解決方案。可以使用靜態分析工具(或程式碼檢查器)來檢查函數是否使用了 kernel 裝飾器。這種方法非常有效,尤其是在開始使用 LLM(生命週期管理)自動化程式碼重寫時。
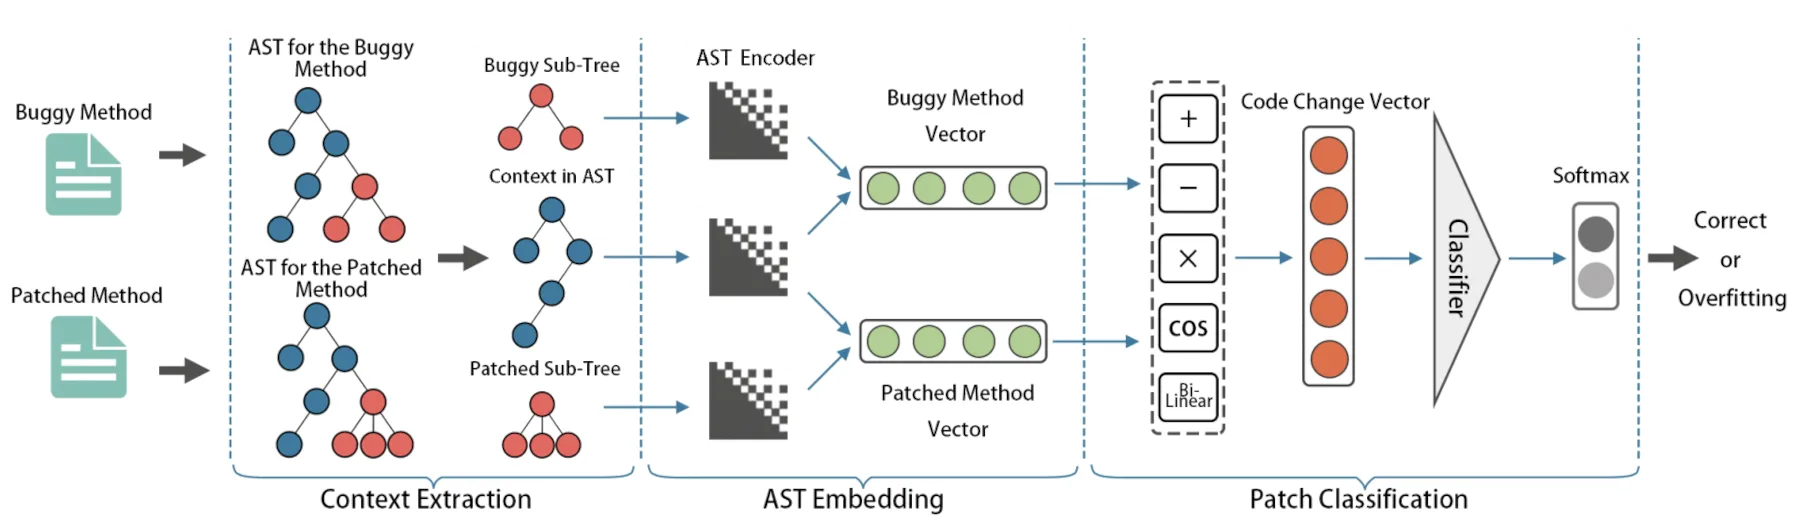 (圖片來源:上下文感知程式碼變更嵌入)
# 結論
在這份簡短的備忘錄中,我展示瞭如何以非常簡單的方式重寫 Python 函數的抽象語法樹 (AST)。使用這種方法,編寫可在量子控制堆疊上執行的量子核心就變得容易得多,而無需使用繁瑣的 with _xxx 語法。
當然,有人可能會問,既然業界正在快速轉向基於LLVM的統一技術棧,並採用MLIR方言進行量子計算,那麼在Python中操作抽象語法樹(AST)還有什麼意義呢?的確如此,在接下來的備忘錄中,我將展示如何使用MLIR來實現相同的目標。
我還需要研究一下 M-Labs 的 NAC3 編譯器。與 CUDAQ 相比,NAC3 使用的是基於 Rust 的實作。甚至連 Python 程式碼也是透過 Rust 解析器轉換為抽象語法樹 (AST) 的。不過,至少在他們的 RISC-V 軟核中,程式碼產生是委託給 LLVM 的。
同時,這份備忘錄提供了一種有趣的學習 Python AST 的方式,這對於改進尚未使用 LLVM 的現有基於 Python 的量子電路編譯器非常有用!
# 參考